If you're new here, you may want to subscribe to my RSS feed. Thanks for visiting!
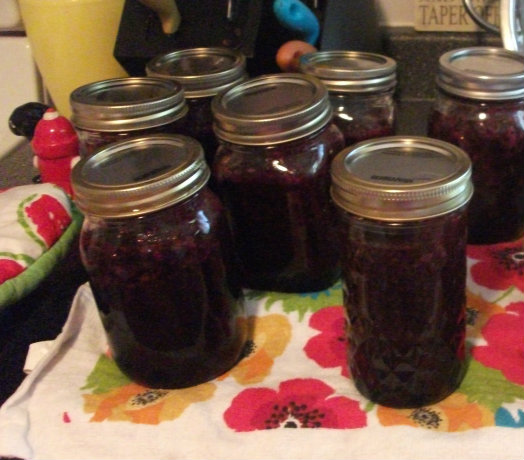
Perhaps the very easiest thing to can is homemade jam. It’s not very expensive, it’s simple, and once you’ve made one kind of jam, others just cooperatively fall into place for you.
The instructions for basic jams are all pretty much the same – you only need to make minor modifications for different fruits. So, because we’re all creative people, I’m laying out the basic how-to, giving you a chart with special instructions fruit by fruit, and you can take it from there.
Ingredients
- 8 cups of fresh or frozen fruit
- 1 packet of pectin + ¼ of a package (I like to use the no-sugar-needed, but then still add sugar – just less!)
- 4 cups of sugar
1. Prep your fruit by washing it and cutting it up if necessary.
2. Smush your fruit. You can do this with a potato masher, food processer, blender or food mill. For some fruits I like to puree them and have a smoother jam and for others I like chunkier jam – it’s up to personal preference.
J a small bowl, use a fork to mix ¼ cup of the sugar with one packet of pectin.
4. In a saucepan, stir the fruit, lemon juice and pectin together well.
5. Bring the mixture to a boil over medium heat, stirring frequently.
6. Once it is boiling, stir in the sugar and return to a boil for one minute.
Jam Making Rule of Law:
Always test your jam!!!!
How?
You do this by keeping a spoon in the freezer – to test, drip a bit of the hot jam into the spoon to allow it to quick cool – the consistency it reaches is the consistency your finished product will be. At this point, I nearly always end up adding another 1/4 – 1/2 package of pectin – I use the cheaper pectin to “top it up” – return to a simmer for a couple of minutes and test again. Omitting this step may result in a very tasty ice cream topping or waffle syrup, but not jam!
|
FRUIT
|
SPECIAL INSTRUCTIONS
|
PROCESSING TIME
|
|
Apricot
|
Peel, slice in half to pit
|
5 minutes
|
|
Blackberry
|
optional step: mill to remove seeds
|
10 minutes
|
|
Blueberry
|
optional step: puree
|
7 minutes
|
|
Cherry
|
Pit with a cherry pitter, chop before cooking
|
10 minutes
|
|
Grape
|
Mill to remove seeds
|
10 minutes
|
|
Huckleberry
|
Check for stems
|
10 minutes
|
|
Peach
|
Peel, slice in half to remove pits
|
10 minutes
|
|
Plum
|
Slice in half to remove pits
|
5 minutes
|
|
Raspberry
|
Crush with a potato masher
|
10 minutes
|
|
Strawberry
|
Remove cores, mash with a potato masher
|
10 minutes
|


2 Responses
Its not the USDA or prescribed method of doing jelly, but its how my family has made jelly for probably 50 years is to follow your recipe (or similar recipe) and then while the jelly is just off the heat pack in jars, wipe rims, lid and immediately invert for one hour on towel covered counters in a draft free area. After 1 hour turn right side up – soon after or within 24 hours, usually less, the jars will seal. We’ve never had a bad jar of jelly and it actually firms properly. We’ve had one or two not seal, but they just go straight to the fridge for immediate use. (what a shame huh?)
Adding chia to jam will also thicken without pectin…as long as chia is available.