If you're new here, you may want to subscribe to my RSS feed. Thanks for visiting!
Many vegetables can be grown, harvested, and will continue to grow for later harvests. This is called a cut-and-come-again garden, a technique used for continuous harvests. We cut only enough for our use at that moment, allowing the plant to grow for another harvest on another day. In this article, I’ll discuss how this is done and what vegetables are best suited for this gardening method.
What garden plants work with cut-and-come-again?
Many cut-and-come-again vegetables are perennial and range from the usual greens and herbs to amaranth, asparagus, and broccoli. Greens and herbs can be grown in a tabletop hydroponics unit or Kratky jar, although I’ve found that while the plant will grow for months without bolting, the leaves do become less tender and less tasty as time goes on.
Nonetheless, I’ve been able to harvest greens for salads and sandwiches pretty regularly during that time. It’s also OK to have more than one tabletop unit! Then it’s possible to succession plant your vegetables, a technique that staggers plantings in order to stagger harvests.
While herbs can certainly be dried and stored, salad greens are usually best eaten fresh. I’ve grown several kinds of lettuce, arugula, mizuna, cilantro, and micro-tomatoes in my tabletop hydroponics unit. Any of these can be grown outside in containers, raised beds, or standard in-ground gardens.
How exactly we accomplish the harvest depends upon the plant being harvested. I’ll detail the techniques and then give some of the plants suited for it. One caveat: never take more than 2/3 of the leaves! Otherwise, your plant won’t grow back, and harvests will be all done.
What to do with outer leaf/stalk cuttings
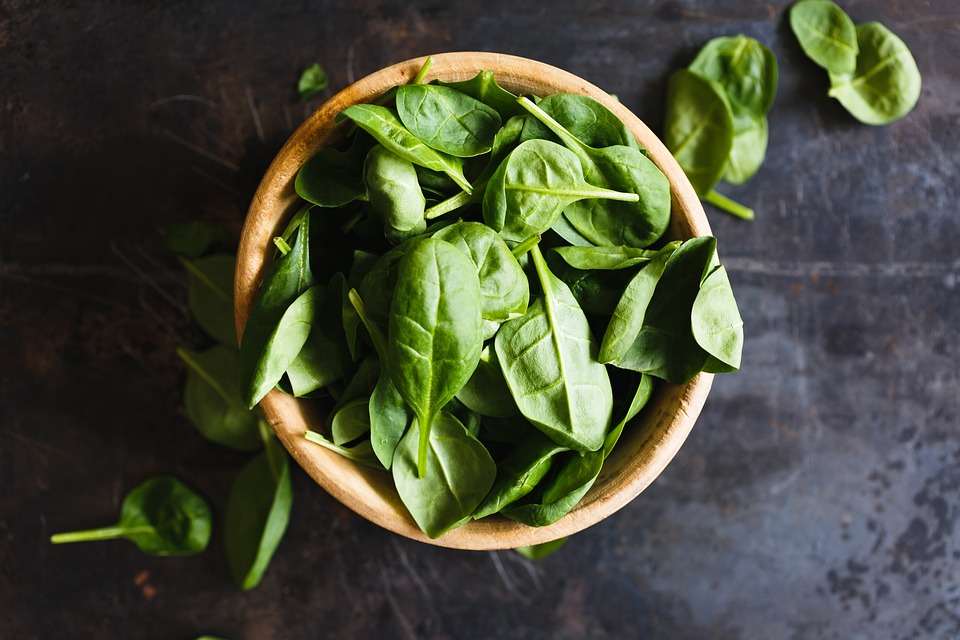
This technique involves harvesting the outer leaves of the plant, which allows the inner leaves to continue growing. Leaf lettuces, mizuna, loose-leaf endive, arugula, chicory aka radicchio, collards, kale, corn salad aka mache, and many others that grow from the center out are harvested by cutting these outer leaves. Spinach, Swiss chard, mustard greens, Romaine lettuce, bok choy, arugula, and celery-anything that grows in a rosette is suited to this technique.
How to harvest tops
Carrots, radishes, turnip greens, and beet greens are a few of the lesser-known greens that can be harvested using the cut and come again approach. These vegetables are usually grown for the roots, and if you’re doing so, then the above caveat about taking no more than 2/3 of the leaves is even more important. Harvest when the leaves are 4-7 inches tall. When the time comes, harvest the roots.
(Want to know what to do with your harvest? Check out our free QUICKSTART Guide to home canning.)
Harvesting fruits and flowers
Artichokes and indeterminate tomatoes will keep producing throughout the year. The part of the artichoke we eat is the flower, so keep them trimmed, and they’ll keep flowering. Do note that these are a plant for warmer growing zones! I’ve tried growing the Globe variety in zone 5b, and they did grow but didn’t over winter well. Also, don’t confuse these with the Jerusalem artichoke. They are two very different plants.
Indeterminant tomatoes will flower and fruit throughout the season until a hard freeze kills them. This quality will often be noted on the information ticket that comes with most plants or can easily be looked up. Determinants won’t do this. Determinant tomatoes will flower, set fruit, and die. Some common indeterminant tomato varieties include Amish paste, Better Boy, Beefsteak, and Cherokee purple. A complete list can be found here.
Two more popular vegetables that fit well in a cut and come again garden are beans and peas. Just keep picking those pods as they ripen, and the plant will keep going like an Everready battery!
Side shoot harvesting
Broccoli is a great vegetable for side shoots! Once the main head is cut, it won’t form another main, but it will form side shoots continuously through the growing season. Sadly, its cousins in the Brassica family don’t share this quality. Cauliflower, cabbage, and kohlrabi are great vegetables but not suited to the cut and come again method. Fennel is another vegetable to consider, as are Brussels sprouts.
Pruning
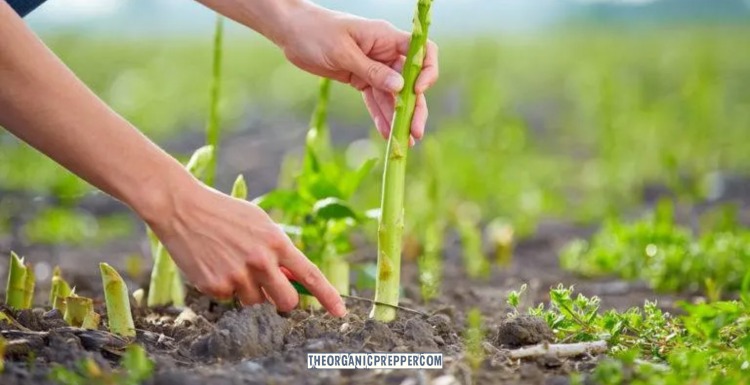
Chives and green onions, aka scallions, are great examples of this technique! You can cut them down to about 1 inch above the ground, and they’ll grow back to be harvested again and again. Garden cress is another. Micro-greens are also harvested in this way.
Another common plant found in the yard is dandelion, which grows back time and again no matter how much we try! in the case of dandelion, both the greens and the roots have both culinary and medicinal uses. I’ve found the greens to be bitter unless cooked, but delicious when sautéed with some butter and garlic. The root is a great liver cleanser, best served as tea. Other medicinal plants growing in my yard that are suited for cut and come again pruning are yarrow and ox-eye daisy.
Herbs of all kinds also fit into this category. Basil, dill, parsley, sage, rosemary, and thyme are all great choices, and they’re far from the only choices. Keep trimming them as required, and they’ll keep growing back. It’s worth noting, however, that bolting will alter the taste towards the bitter side.
I trim my herbs until that happens and then leave them for the pollinators. Sometimes I’ll get lucky, and they’ll come back next year, as volunteer oregano has done for several years in my garden. I trim what I need, dry what I don’t use immediately for storage, and enjoy the flowers while they last. Then I will do it all again next year. As an added bonus, these plants are very easy to propagate via cutting. Free plants are good.
Some tips to enhance production
Fertilizing and top dressing at the beginning of the season give your plants a great start. For more thorough gardening advice no matter where you live, check out our course.
Remember to take no more than 2/3 of the plant at any given harvest, and really, less is better. The plants need to photosynthesize in order to grow, so don’t take all of the machinery! Treat them gently, and they’ll repay you with an abundant harvest over the season.
As with the rest of your garden, monitor continuously for pests and diseases, and take appropriate measures. This includes cutting off any diseased/dying parts.
If you or your neighbors use pesticides, be sure to wash your harvests thoroughly!
(Want uninterrupted access to The Organic Prepper? Check out our paid-subscription newsletter.)
Cut and come again gardens definitely have their benefits.
These vegetables keep producing over the entire season, which maximizes the crop yield relative to your garden space. This is especially important in small urban spaces, where every inch of garden space has to count.
What’s growing in your garden? Let us know in the comments below!
About Amy Allen
Amy Allen is a professional bookworm and student of Life, the Universe, and Everything. She’s also a Master Gardener with a BS in biology, and has been growing food on her small urban lot since 2010.


10 Responses
Great article Amy! We use a method similar to this, but using soil, to grow several types of lettuce indoors and we haven’t had to buy store bought lettuce since September. It is perfect to keep the produce coming in during the cold winter months. The method work so well that we are going to stop growing lettuce outdoors and use our limited garden space outside for produce that grows too big for the indoors.
Thanks for the kind words Rick! I’ve done similarly. I grow the greens and herbs indoors and save my garden space for the bigger things. My growing season is pretty short here in 5b anyway, but I can grow greens all year around indoors. Outdoors I grow tomatoes, squashes, beans, peas-things that need lots of space and preserve well. One more piece of the puzzle!
Sweet potato leaves and bean and pea leaves are also harvestable as salads and cooked greens. I don’t take more than a 1/3rd of the plants leaves, and I don’t notice any real loss of production. But then again I side dress mine and use compost tea when watering.
Really? I did not know that about bean & pea leaves! Thanks for sharing.
Great advice from Amy as usual. I’ve done both cut now and later type harvest and sequential planting. Both worked better, especially planting, when I had more than 150 square feet of garden. With so few plants it’s hard to get a whole meal of a particular veggie. Okra comes to mind as an example. Perhaps I should work on canning, lol but honestly, I love growing and giving more than eating.
For the last two years, here in north east Florida, I’ve been doing the usual sort of intensive gardening. Crowd the plants, give them lots of water, sun and nutrients. Check them twice a day, every day, for problems and fix them ASAP. It’s worked fairly well. My friends are amazed that I can give away so much from a tiny garden. But.
Now I have the predictable results. Disease and insects. Wilts, fungi, mildew and cut worms, fungus gnats. Yikes! I’m using neam oil, dyconil, soap spray and disinfected sharp scissors to some effect. But my tomatoes are dying and some new pathogen killed my strawberries. I read that was common in commercial production as well.
In about a month I’m going to pull up everything. It’ll be too hot anyway. I’ll till the soil, add light amendments and cover it all in plastic sheeting with the edges sealed down. I’m going to let the unbelievable Florida heat and radiation sterilize the garden bed. I’ll leave it on until mid August and then get ready for the winter plantings. Mid summer here is just too hot for most of the veggies I want to grow. Or it’s too hot for me to work the garden like I want.
I found a wonderful YouTube video when looking for a solution to some of my garden issues. There are recipes for simple ingredient sprays that are very effective. He talks about how to prevent and eradicate various problems. I am watching more videos to learn all I can to maximize the harvest. Counting heavily on this years garden for food, like everyone else and also want to have enough to share with others.
The Rusted Garden
Spray Recipes:
https://www.youtube.com/watch?v=7bZy8xXeSSA
Safely Using Dust for insects:
https://www.youtube.com/watch?v=E1p7nixGi8o
Good video. I haven’t tried them very much in the past. I do have some diatomaceous earth which I initially bought to help with black ants in my veggie garden. I still have a few ants so I think I’ll use some now.
I have used BT, bacillus thurgenises, and it works wonderfully for any caterpillars without harming anything else.
Honestly, I find that intensive gardening invites problems like this. The plants don’t get the air circulation, so dampness develops, which is just what fungal problems need. Then because they’re so close together problems spread quickly. My home garden is small too, only 100 ft2, but this year I’m giving my plants some space. I’ll probably write about it when I have some results to share!
This is a wonderful article and we found it is possible to do this fairly inexpensively. Earlier this year we started an indoor hydroponic garden following the directions online via Rainbow Garden’s video “Never Buy Lettuce Again – The Indoor Soil-less Lettuce Grow System, DIY Clean & Easy!”.
Link: https://www.youtube.com/watch?v=F5XxQM5G5Fg .
I had to find my own lights as hers were unavailable. Found a set of 8 LED lights 6500K that were 3 ft long to fit my 3 ft wide shelves on Amazon for $60! Link: https://www.amazon.com/gp/product/B086X1VYJX/ref=ppx_yo_dt_b_search_asin_title?ie=UTF8&psc=1
We only needed 6 for my three shelves, but spares are always a good thing. Boxes were made by my husband from PVC boards used in siding, so they are waterproof. It has worked extremely well and we have been growing various lettuces, tiny peas and looking to use a variation to grow micro dwarf tomatoes. We are short on space so this is an attractive way to have the garden right in our living room.
Cut and Come Again is a beautiful way to not waste lettuce. We just cut what we need and replant more seeds every two weeks for an ongoing supply. It’s so important that we all try to grow something to help feed ourselves. The Organic Prepper is such a wonderful resource!
Thanks for your kind words and insight! I agree: every bite I can grow saves me money, and pennies make the dollars! You might look up Kratky jars if you haven’t already. I’m having fun with those! They do have their issues and fine points though.